In today's digital music landscape, the ability to record, mix, and monitor high-quality audio is more accessible than ever before. However, navigating the vast array of gear options—from microphones to mixers to monitors—can be overwhelming for aspiring producers and engineers. This comprehensive guide cuts through the clutter, offering expert insights on essential equipment, from selecting the right XLR cables to choosing the perfect mixing console. By the end, you'll be equipped with the knowledge to set up a professional-grade home or project studio, ensuring your creative vision translates accurately into the final mix.
- Choosing the Right Recording Equipment: Microphones & Cables
- Mixing Basics: Software & Monitoring Systems
- Optimizing Your Studio Space for Professional Sound
- Mastering and Exporting: Final Touches & Distribution
Choosing the Right Recording Equipment: Microphones & Cables
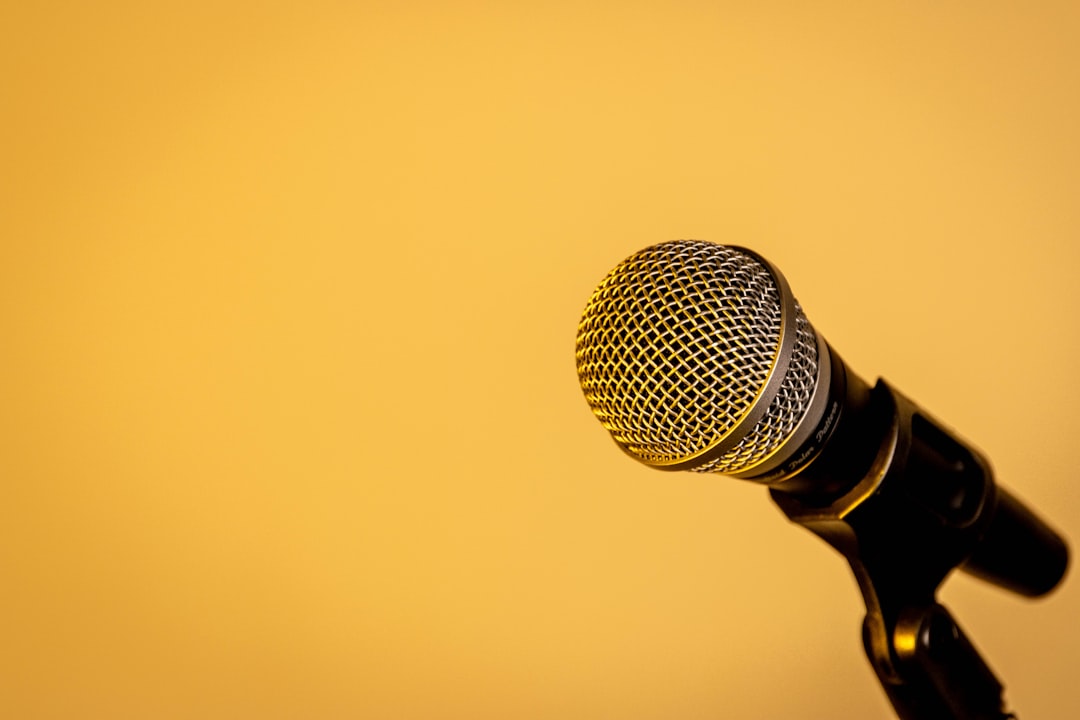
Choosing the right recording equipment, particularly microphones and cables, is a cornerstone of achieving high-quality audio in both home and project studios. Microphones are the first line of interaction between sound and your audio equipment; they capture and convert acoustic energy into electrical signals. For professional results, it's essential to invest in quality microphones that suit the specific needs of your vocal range, acoustic environment, and recording genre. For instance, dynamic microphones like the Shure SM7B are renowned for their robust performance in vocal recording, while condenser microphones, such as the Audio-Technica AT2020, offer versatile use across various applications.
Complementing microphones, XLR cables play a critical role in ensuring signal integrity. These cables, characterized by their robust construction and balanced signal transmission, are industry standards for professional audio. Look for XLR cables that feature high-quality connectors and shielded wiring to minimize interference and maintain signal purity, especially when dealing with high-fidelity audio equipment. Top-tier brands like Mogami and Belden offer XLR cables in various lengths and quality grades, catering to both budget-conscious and professional users. Integrating these with sound speakers or audio equipment of suitable caliber ensures that the captured sound is accurately represented, enabling precise mixing and monitoring.
When selecting microphones and XLR cables, consider factors like frequency response, sensitivity, and compatibility with your existing audio equipment. Reference measurements and reviews from respected publications can guide your choices. Remember, the right equipment empowers you to produce recordings that accurately reflect the original sound, creating a seamless and engaging listening experience for your audience.
Mixing Basics: Software & Monitoring Systems
Mixing is a crucial stage in recording, where individual tracks come together to create a cohesive audio experience. At its core, mixing involves balancing levels, panning sounds across the stereo field, and applying effects to enhance the overall sound. The software you choose plays a pivotal role; digital audio workstations (DAWs) like Pro Tools, Ableton Live, or Logic Pro offer powerful tools for precision mixing. These platforms provide an interface where you can adjust volume, apply EQ (equalization) to shape the sound, and use compression to control dynamics—all essential elements for achieving a professional mix.
The monitoring system is another critical component. High-quality sound speakers are essential to accurately hear what you're mixing. Studio monitors like the Yamaha HS8 or K-3 are designed to provide flat response, ensuring you perceive the mix as intended. Monitoring systems should be set up in a treated room to minimize reflections and standing waves, allowing for an unobstructed listening experience. XLR cables, known for their durability and high-quality signal transmission, connect microphones, instruments, and audio equipment to your mixing console or interface, guaranteeing pristine sound quality during the mixing process.
When setting up your mixing environment, consider the unique acoustic characteristics of your space. Room acoustics can significantly impact the perceived mix; a well-treated room enhances accuracy. Additionally, invest in good headphones for solo listening and critical assessment. Regularly compare mixes on different systems and speakers to ensure consistency across various listening environments. This practice hones your ear and refines your mixing skills, resulting in well-balanced and engaging audio productions.
Optimizing Your Studio Space for Professional Sound
Optimizing your studio space is a crucial step in achieving professional-quality sound. A well-designed environment can dramatically impact the clarity, balance, and overall warmth of your recordings. At its core, this involves careful consideration of acoustics, positioning of audio equipment, and utilizing the right tools like high-quality XLR cables to connect and mix your gear seamlessly.
Acoustics play a significant role in sound quality. Reflective surfaces can create echo or reverb, affecting the naturalness of recordings. Treating your space with acoustic panels, bass traps, and diffusers can significantly reduce these effects. For example, positioning sound absorbers near walls and ceilings can cut down on reverberation, allowing for better control over the final mix. Additionally, ensuring proper isolation through studio doors and windows is essential to minimize external noise intrusion, which requires dedicated soundproofing materials tailored to your space.
When setting up your audio equipment, including microphones, mixers, and sound speakers, a thoughtful layout is key. For instance, placing dynamic microphones at a distance from potential sources of feedback or positioning monitor speakers at ear level for accurate listening ensures optimal performance during recording and mixing sessions. XLR cables, known for their reliable transmission of high-quality audio signals, should be chosen based on length and quality to minimize signal loss and interference. High-resolution sound speakers, strategically placed in your studio space, provide a reference point for precise mixing and mastering.
Regularly testing and calibrating your system using reference materials or professional calibration services ensures consistency. This involves adjusting levels, EQ settings, and room acoustics as needed. By combining thoughtful design, quality audio equipment, and meticulous calibration, you can transform your home or project studio into a professional-grade environment capable of producing remarkable sound recordings.
Mastering and Exporting: Final Touches & Distribution
When it comes to the final stages of audio production, mastering and exporting play a pivotal role in delivering polished, high-quality sound. This critical phase involves refining your mix, applying effects, and ensuring your track translates accurately across various playback systems, from computer speakers to professional studio monitors.
Mastering engineers utilize specialized software and hardware to shape the overall sound character, balancing levels, frequency response, and dynamic range. This process can include compression for consistency, limiting to protect critical peaks, and equalization to fine-tune the mix for specific sound speakers or genres. For instance, a metal track might require more aggressive compression and enhanced high-end presence to cut through in live performances, while a delicate acoustic piece may demand subtle enhancements to ensure it retains its natural ambiance. XLR cables, known for their reliability and clarity, are essential during mastering, connecting microphones and audio equipment that capture these fine adjustments with precision.
Exporting is the final step where your mixed track is prepared for distribution across various platforms. This involves selecting the appropriate file format (such as WAV, FLAC, or MP3), setting bit rates, sample rates, and other parameters based on intended usage and quality requirements. For online streaming services, formats like MP3 with moderate bit rates offer a balance between file size and sound quality. High-resolution audio platforms, on the other hand, demand larger file sizes but deliver an unparalleled listening experience for audiophiles who own high-fidelity sound systems featuring advanced sound speakers.
Remember, mastering is not just about making your track louder; it's about creating a cohesive, balanced, and engaging audio experience that translates well across different playback scenarios. Investing in quality XLR cables and a versatile set of professional audio equipment will empower you to achieve these goals, ensuring your final product stands the test of time and captivates listeners.
Frequently Asked Questions About Recording, mixing and monitoring gear guides for home and project studios.
What are the essential components I need to start recording at home? A good home studio setup starts with an interface, a microphone, headphones, and software. Choose an audio interface suitable for your needs, with enough inputs and outputs. A quality microphone is crucial for clear vocal or instrument recordings. Headphones provide accurate monitoring, and a digital audio workstation (DAW) like Pro Tools or Ableton Live is essential for recording, mixing, and editing.
How do I mix audio effectively for a home studio? Mixing involves balancing levels, panning sounds, and applying effects. Start by adjusting input levels and panning. Use EQ to shape the sound and compression to control dynamics. Automate parameters for dynamic changes. Listen critically through headphones and make adjustments. Experiment with plugins and presets to achieve professional-sounding mixes.
What are some tips for accurate monitoring in a project studio? Accurate monitoring requires treated acoustics and reference monitors. Treat your studio space to reduce reflections and standing waves. Place monitors at ear level and slightly off-axis to your listening position. Calibrate your system using a measurement microphone and software. Regularly test and update your monitors and room treatment to maintain accurate monitoring over time.
Can you recommend budget-friendly gear for a beginner's home studio? Absolutely! Start with an affordable audio interface like the Focusrite Scarlett or Audio-Technica US-1200. A dynamic microphone, such as the Shure SM58 or Rode NT1-A, offers excellent value. For headphones, go for open-back models like the Sennheiser HD 569 or Audio-Technica ATH-M40x. A basic DAW like GarageBand (for Mac) or FL Studio (for PC) is free and powerful for beginners.
How can I improve the sound quality of my recordings? Focus on good microphone technique and placement. Ensure proper room acoustics and treatment. Use quality cables and connections. Invest in good headphones and monitors for critical listening. Learn mixing and mastering techniques to refine your recordings. Regularly calibrate and update your equipment for optimal performance.
By equipping yourself with knowledge about microphones and cables, understanding mixing software and monitoring systems, optimizing your studio space, and mastering your final product, you've taken significant strides towards creating professional-grade audio in a home or project studio. The article has provided practical insights on each critical step, from selecting the right recording equipment, including XLR cables for reliable signal transmission, to achieving high-quality sound through effective mixing and monitoring techniques. Now armed with these key learnings, you can confidently proceed to create, mix, and export your audio projects with enhanced expertise and precision.